Centos 7 安装部署 nginx+haproxy+nfs 的部署方法
部署四台Centos 7
| Centos 7 | IP |
| Centos 7 x1 | 192.168.52.157 |
| Centos 7 x2 | 192.168.52.153 |
| Centos 7 x3 | 192.168.52.156 |
| Centos 7 x4 | 192.168.52.151 |
1.1 部署两台nginx(x1,x2两台操作都一样)
先上传安装包(下面链接里有RZ包)
http://链接: https://pan.baidu.com/s/1znryAj3qc3QnQaKSDTU6KQ 提取码: egzp
1.2 安装工具和库
[root@localhost ~]# yum -y install gcc-c++ pcre pcre-devel zlib zlib-devel openssl openssl-devel 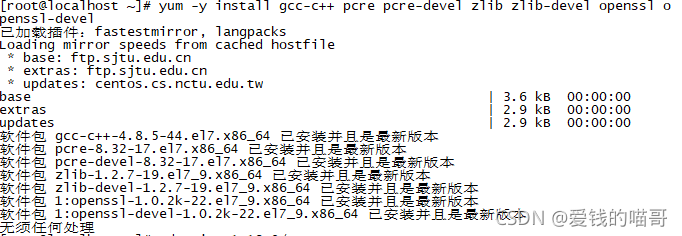
1.3 下载1.18.0.tar.gz的包
[root@localhost ~]# wget -c https:"//nginx.org/download/nginx-1.18.0.tar.gz" //安装工具和库
1.4 解压1.18.0.tar.gz的包
[root@localhost ~]# tar -zxvf nginx-1.18.0.tar.gz //下载1.18.0.tar.gz的包1.5 进入nginx目录然后编辑与安装nginx
[root@localhost ~]# cd nginx- 1.18.0            //进入nginx目录
[root@localhost nginx-1.18.0]# ./configure --prefix=/usr/local/nginx --with-http_stub_status_module --with-http_ssl_module --with-http_v2_module --with-http_sub_module --with-http_gzip_static_module --with-pcre    //编辑安装nginx
1.6 进入到安装nginx目录下面的sbin
[root@localhost nginx-1.18.0]# make
[root@localhost nginx-1.18.0]# make install
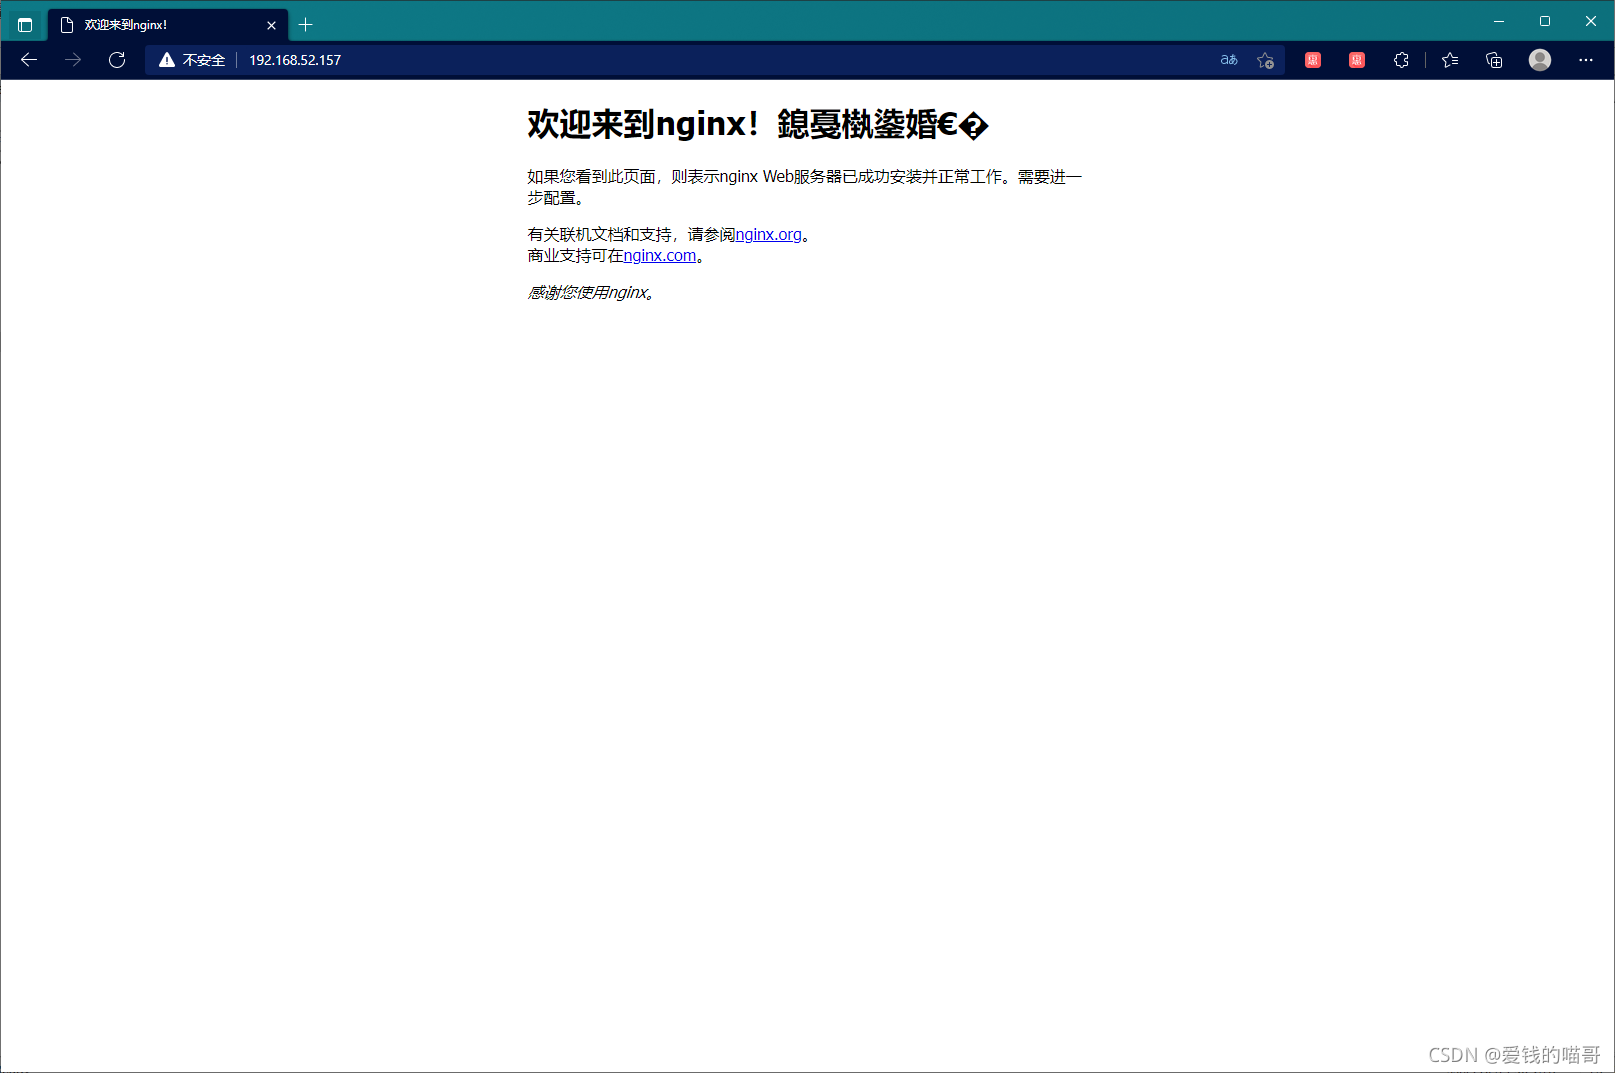
[root@localhost nginx-1.18.0]# /usr/local/nginx/sbin/nginx //进入到安装nginx目录下面的sbin
[root@localhost nginx-1.18.0]# ./nginx //启动最后启动就行了
然后去游览器搜索ip
2.1 编译安装haproxy(Centos x3)
先上传安装包(下面链接里有RZ包)
http://链接: https://pan.baidu.com/s/1AeKFyzd_NIckv7UTRKLa1A 提取码: 2jat
[root@localhost ~]# yum -y install pcre-devel bzip2-devel
[root@localhost ~]# tar zxf haproxy-1.5.19.tar.gz -C /usr/src/
[root@localhost ~]# cd /usr/src/haproxy-1.5.19/
[root@localhost haproxy-1.5.19]# make TARGET=linux26 && make install
2.2 haproxy服务配置
[root@localhost ~]# mkdir /etc/haproxy           //创建配置文件目录
[root@localhost ~]# cd /usr/src/haproxy-1.5.19/
[root@localhost haproxy-1.5.19]# cd /etc/haproxy/
2.3 进入vim编辑
把IP设置成前两个Centos 7 x1,x2的ip,保存
[root@localhost haproxy-1.5.19]# vim /haproxy.cfg
global
        log /dev/log    local0 info
        log /dev/log    local0 notice
        #log loghost    local0 info
        maxconn 4096
        #chroot /usr/share/haproxy
        uid 99
        gid 99
        daemon
        #debug
        #quiet

defaults
        log     global
        mode    http
        option  httplog
        option  dontlognull
        retries 3
        redispatch
        maxconn 2000
        contimeout      5000
        clitimeout      50000
        srvtimeout      50000
listen  webserver 0.0.0.0:80
        option httpchk GET /index.html
        balance roundrobin
        server  inst1   192.168.52.157:80 check inter 2000 fall 3
        server  inst2   192.168.52.153:80 check inter 2000 fall 3
2.4最后创建开机自启动的命令
[root@localhost ~]# cd /usr/src/haproxy-1.5.19/
[root@localhost haproxy-1.5.19]# cp examples/haproxy.init /etc/init.d/haproxy
[root@localhost haproxy-1.5.19]# ln -s /usr/local/sbin/haproxy /usr/sbin/haproxy
[root@localhost haproxy-1.5.19]# chmod +x /etc/init.d/haproxy
[root@localhost haproxy-1.5.19]# chkconfig --add /etc/init.d/haproxy
[root@localhost haproxy]# /etc/init.d/haproxy start
Starting haproxy (via systemctl):                          [  OK  ]
[root@localhost haproxy]# systemctl stop firewalld
去游览器里搜索ip,然后刷新

3.1搭建NFS服务器
需要两台centos 7,(x1用来当作客户端 ,x4用来当作服务器)
首先在服务器上执行(Centos 7 x4)
[root@localhost ~]# yum -y install nfs-utils
centos7自带rpcbind,不用安装rpc服务
3.2启动rpc服务
因为rpc能够获得nfs服务器端的端口号等信息,nfs服务器端通过rpc获得这些信息后才能连接nfs服务器端
[root@localhost ~]# ss -tnulp | grep 111            //查看rpc有没有启动
[root@localhost ~]# systemctl start rpcbind            //启动rpc
[root@localhost ~]# rpm -qa nfs-utils            //查看是否安装成功
编辑/etc/exports,添加/data 192.168.1.0/24(rw,async)保存
[root@localhost ~]# vim /etc/exports
 /data    192.168.52.0/24(rw,async)
~
~
~
~
~ 
3.3启动nfs服务
[root@localhost ~]# systemctl start nfs            //启动nfs服务
[root@localhost ~]# rpcinfo -p 192.168.52.151        //查看nfs服务
   program vers proto   port  service
    100000    4   tcp    111  portmapper
    100000    3   tcp    111  portmapper
    100000    2   tcp    111  portmapper
    100000    4   udp    111  portmapper
    100000    3   udp    111  portmapper
    100000    2   udp    111  portmapper
    100024    1   udp  38870  status
    100024    1   tcp  51363  status
    100005    1   udp  20048  mountd
    100005    1   tcp  20048  mountd
    100005    2   udp  20048  mountd
    100005    2   tcp  20048  mountd
    100005    3   udp  20048  mountd
    100005    3   tcp  20048  mountd
    100003    3   tcp   2049  nfs
    100003    4   tcp   2049  nfs
    100227    3   tcp   2049  nfs_acl
    100003    3   udp   2049  nfs
    100003    4   udp   2049  nfs
    100227    3   udp   2049  nfs_acl
    100021    1   udp  46405  nlockmgr
    100021    3   udp  46405  nlockmgr
    100021    4   udp  46405  nlockmgr
    100021    1   tcp  43169  nlockmgr
    100021    3   tcp  43169  nlockmgr
    100021    4   tcp  43169  nlockmgr
[root@localhost ~]#
使用showmount -e localhost挂载
[root@localhost ~]# showmount -e localhost
Export list for localhost:
/data 192.168.52.0/24
创建/data目录添加文件,更改权限
[root@localhost ~]# mkdir /data
[root@localhost ~]# touch /data/1.txt
[root@localhost ~]# echo "hello nfs" >> /data/1.txt
[root@localhost ~]# chown -R nfsnobody.nfsnobody /data
3.4客户端
[root@localhost ~]# yum -y intall nfs-utils
已加载插件:fastestmirror, langpacks
没有该命令:intall。请使用 /usr/bin/yum --help            //查看rpc服务
[root@localhost ~]# ss -tnulp | grep 111
udp    UNCONN     0      0         *:111                   *:*                   users:(("rpcbind",pid=697,fd=6))
udp    UNCONN     0      0      [::]:111                [::]:*                   users:(("rpcbind",pid=697,fd=9))
tcp    LISTEN     0      128       *:111                   *:*                   users:(("rpcbind",pid=697,fd=8))
tcp    LISTEN     0      128    [::]:111                [::]:*                   users:(("rpcbind",pid=697,fd=11))
[root@localhost ~]# showmount -e 192.168.52.151
Export list for 192.168.52.151:
/data 192.168.52.0/24
挂载到本地/mnt目录
[root@localhost ~]# mount -t nfs 192.168.52.151:/data /mnt
[root@localhost ~]# ls /mnt/
1.txt
[root@localhost ~]# echo "1234" >> /mnt/1.txt
[root@localhost ~]#
1.txt可以读写,nfs挂载完成。
|


- 上一条: JVM垃圾回收算法&垃圾收集器论述 2021-11-23
- 下一条: Protobuf 为啥比 JSON、XML 牛? 2021-11-24
相关文章
- 【干货】解决CentOS 7.x上安装与部署SeaTunnel Web时遇到的问题 2024-01-30
- 使用虚拟机在CentOS上安装部署openGauss数据库指导(上) 2022-01-18
- 手把手教你从安装CentOS7.4镜像开始,搭建IoT视频监控系统 2022-10-28
- openGauss DBMind自治运维系统的安装和部署 2023-05-08
- 使用虚拟机在CentOS上安装部署数据库使用 2022-01-13
热度排行

